
Many of us dream of a spooky, stylish, or fun design on our nails, but complex patterns often seem intimidating. In fact, you don’t have to be a master to bring attention-grabbing ideas to life. Experienced nail technicians have shared simple step-by-step guides (visual masterclasses) that significantly ease the process. Thanks to them, you can easily depict everything on your nails: from a mystical house in the fog to multi-layered compositions with an interesting combination of glossy and matte finishes, reports MODISTA.
👻 Nail Plate Preparation: Where to Start?
No matter how wonderful your idea is, the key to a successful manicure is meticulous nail preparation. This stage must not be skipped if you want your holiday design to last long and look flawless.
Standard Manicure: Perform a hygienic manicure: shape the nails, remove the cuticle.
Buffing and Degreasing: Gently buff the nail plate to remove shine and ensure better adhesion. After this, be sure to degrease the nail with a special solution.
Base Coat: Apply ultrabond (if you use it) and cover the nail with a base coat. Cure it under the lamp.
Підписуйтесь, щоб не пропустити нічого цікавого! | Follow us so you don't miss anything interesting! | Subskrybuj, aby nie przegapić niczego ciekawego!
Choose a Design: First and foremost, decide on the design you like best.
🕷️ Step-by-Step Design Creation: From Background to Details
Now that the nails are ready, we can move on to painting. Patience and consistency are key here. We work with gel polishes, as they allow time for corrections and last longer.
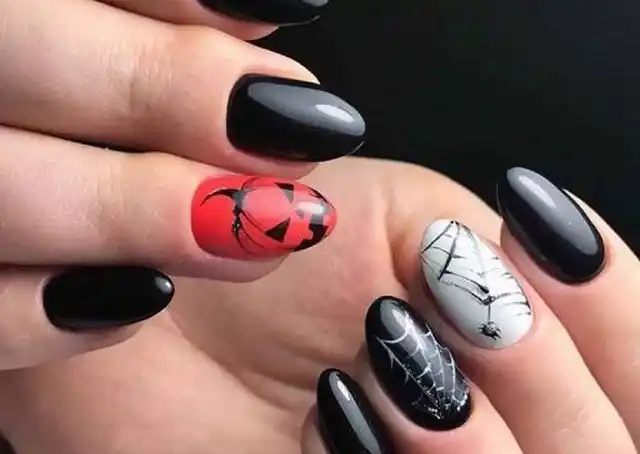
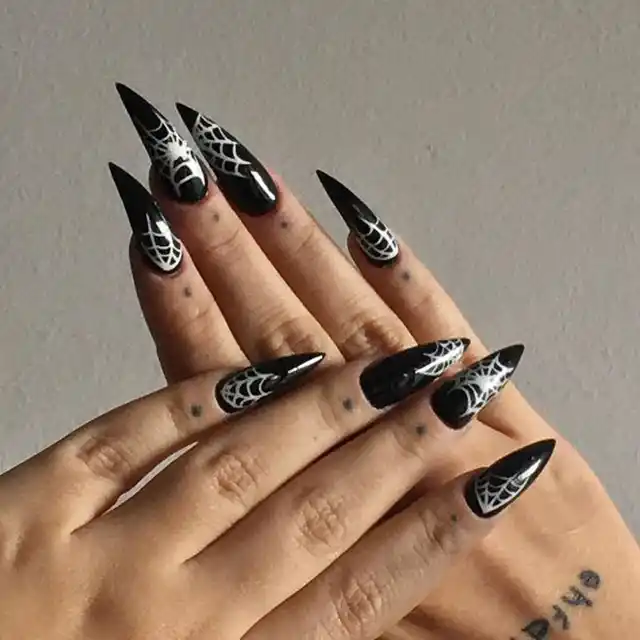
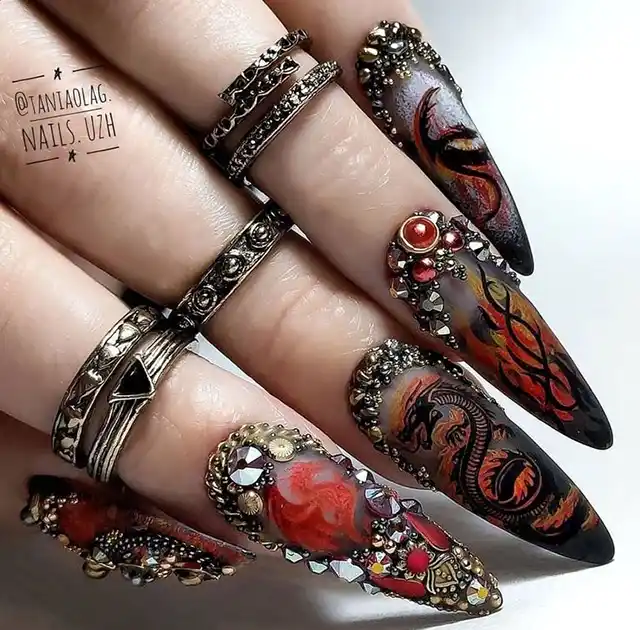
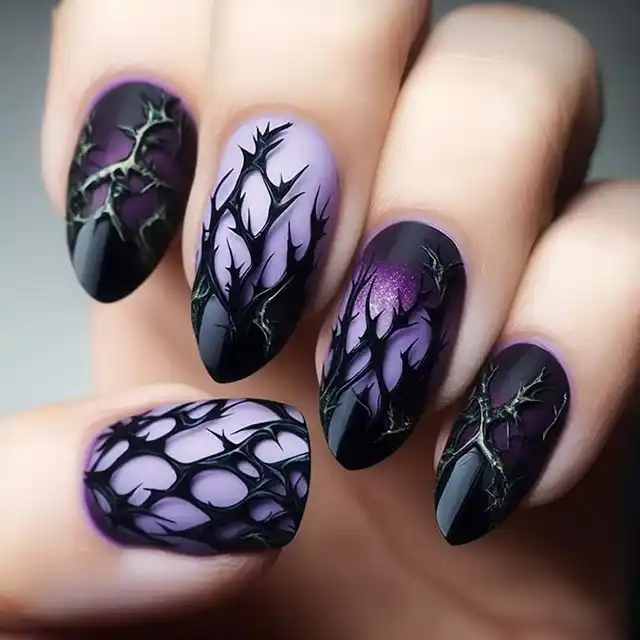
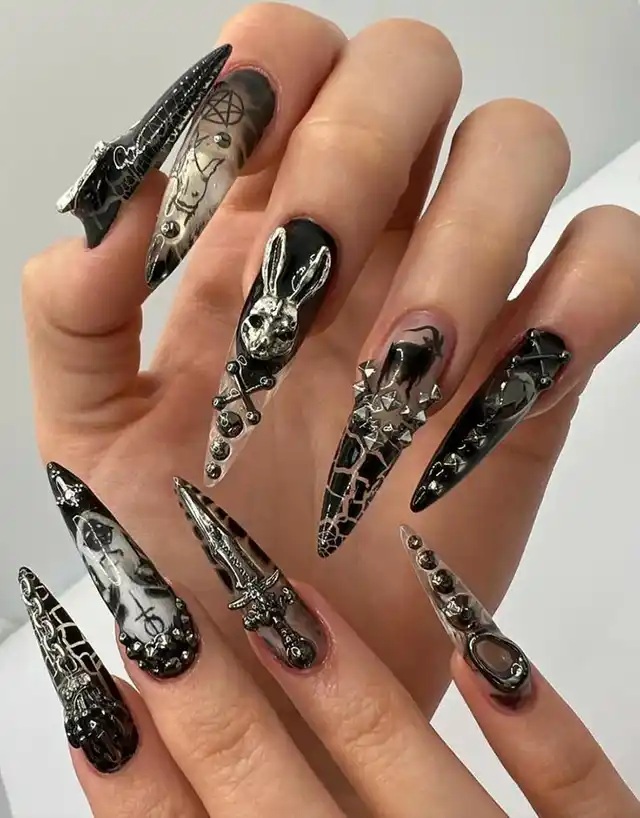
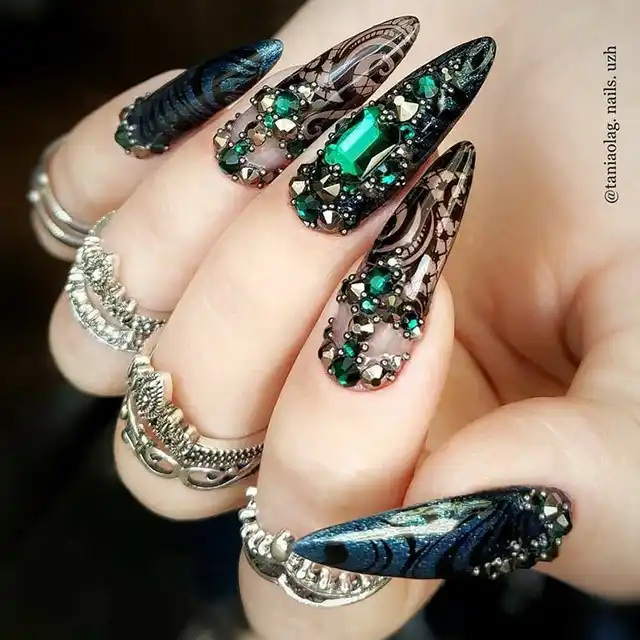
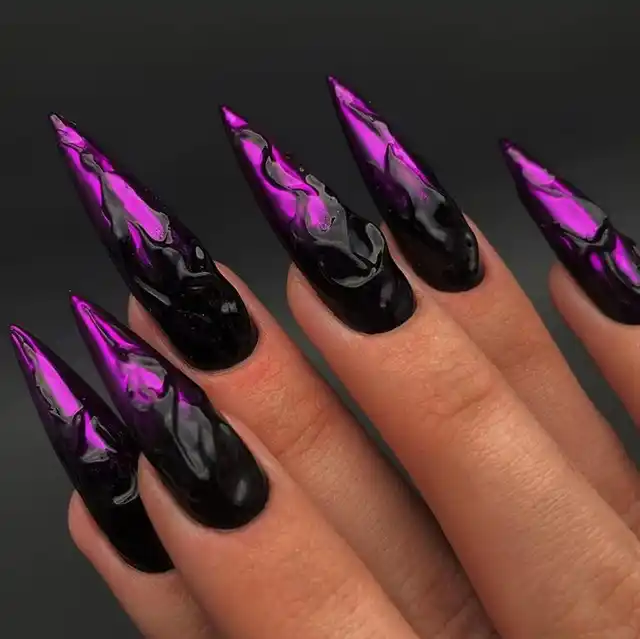
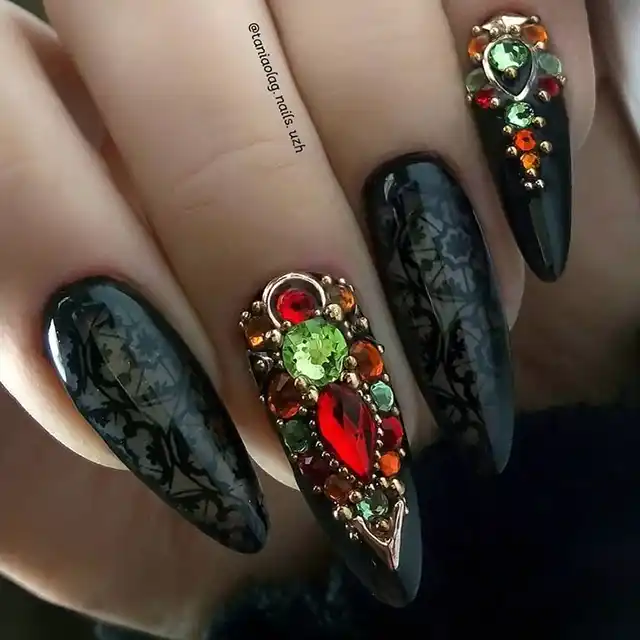
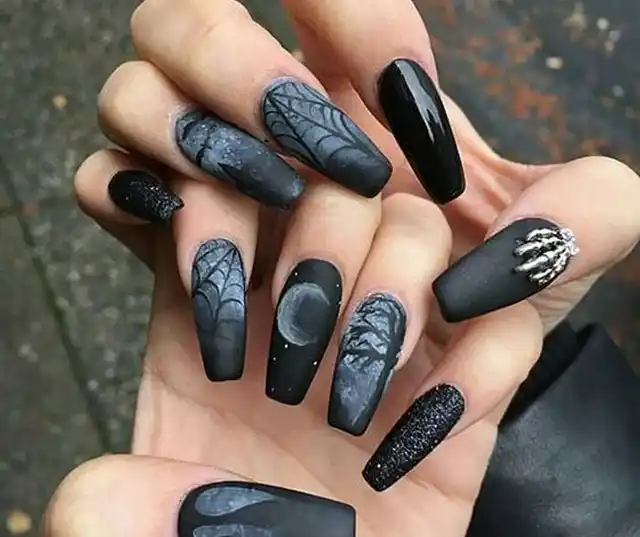
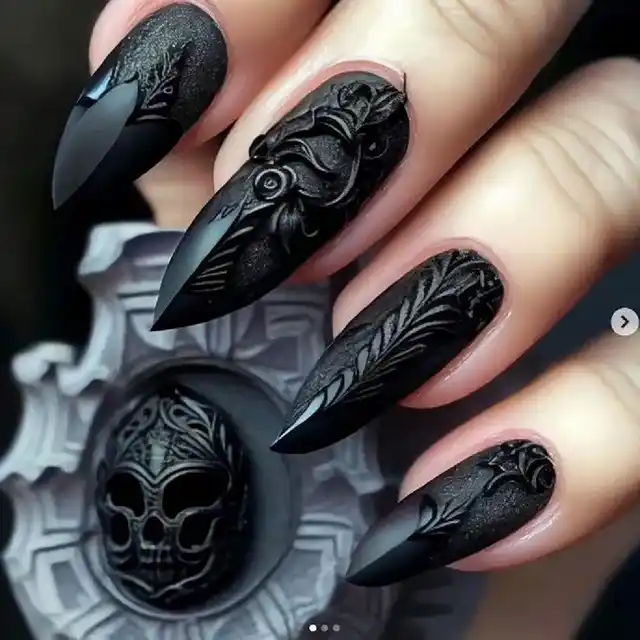
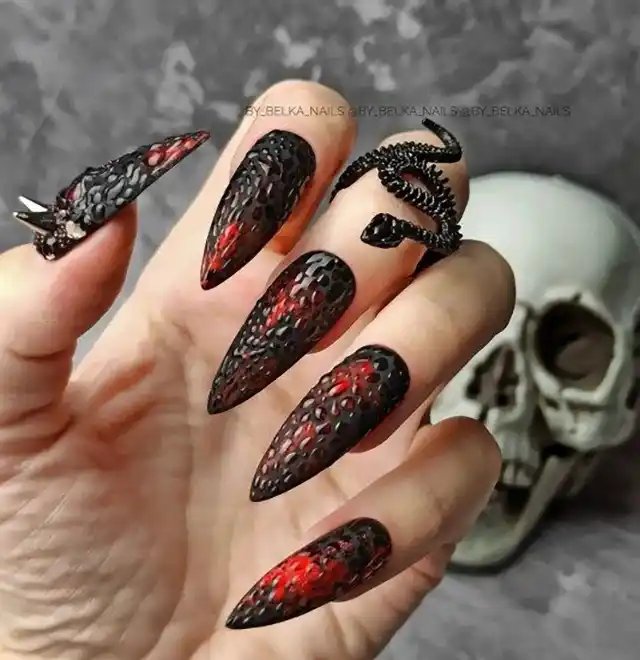
- Choosing and Applying the Background: Apply your chosen main color (the background for your future design). For Halloween, this is most often black, deep purple, vibrant orange, or red. Be sure to cure the background under the lamp.
- Pencil Sketch: Take a simple cosmetic pencil and lightly outline the base of your drawing—this could be the contours of a pumpkin, a spider, or the silhouette of a house.
- First Color Layer: Fill in the main contours with the first layer of gel polish in the chosen color (for example, white for ghosts or orange for pumpkins) and cure it for about 30 seconds.
- Drawing Major Details: Add the larger elements of the drawing that form the main composition. Cure again.
- Final Touches: Gradually add all the smaller details and shadows: from the largest elements to the smallest. For example, if it’s a spiderweb, first draw the main lines, then add the thin cross-sections. Important: cure the nail after each addition of a new color or layer to prevent the design from bleeding.
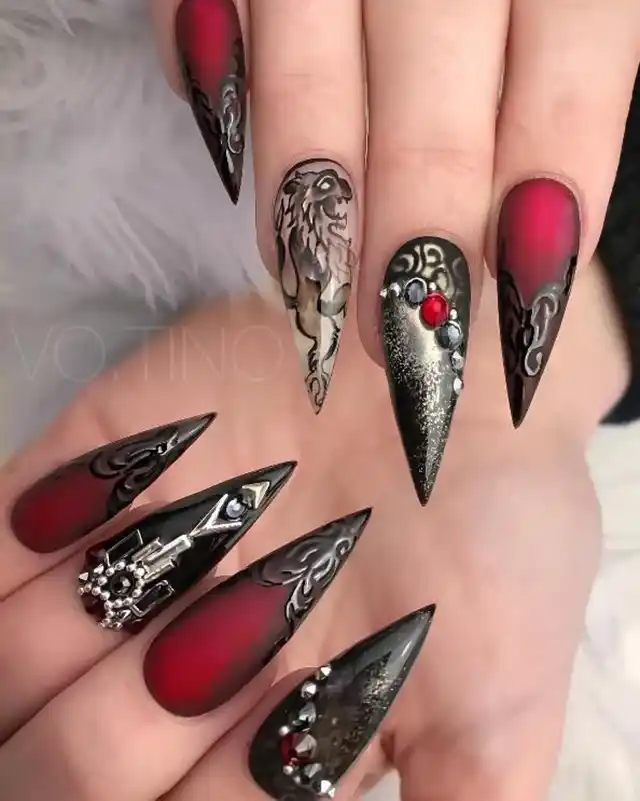
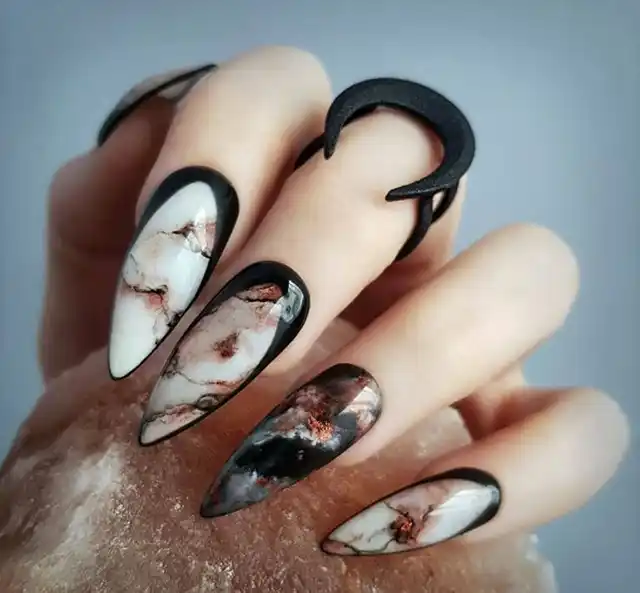
🌕 Finish Coat: Matte or Glossy?
When the design is completely finished, and you’ve made sure all layers are fully cured, it’s time for the final coat.
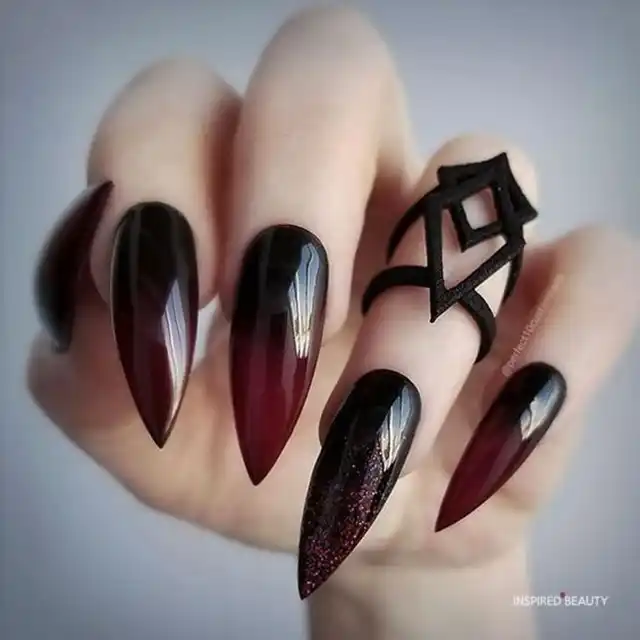
Tip: To create a “foggy” or “mystical” effect, a matte top coat is ideal, as it will add depth and mystery to your nails. Gloss, conversely, will emphasize the brightness and richness of the colors.
Cover the finished design with a glossy or matte finish.

Creating a themed Halloween manicure is a true art that, as you can see, is accessible to everyone. With a little practice and the right tips, you can easily create a design that will become the highlight of your festive look. I wish you success and the spookiest, yet most stylish, Halloween!