



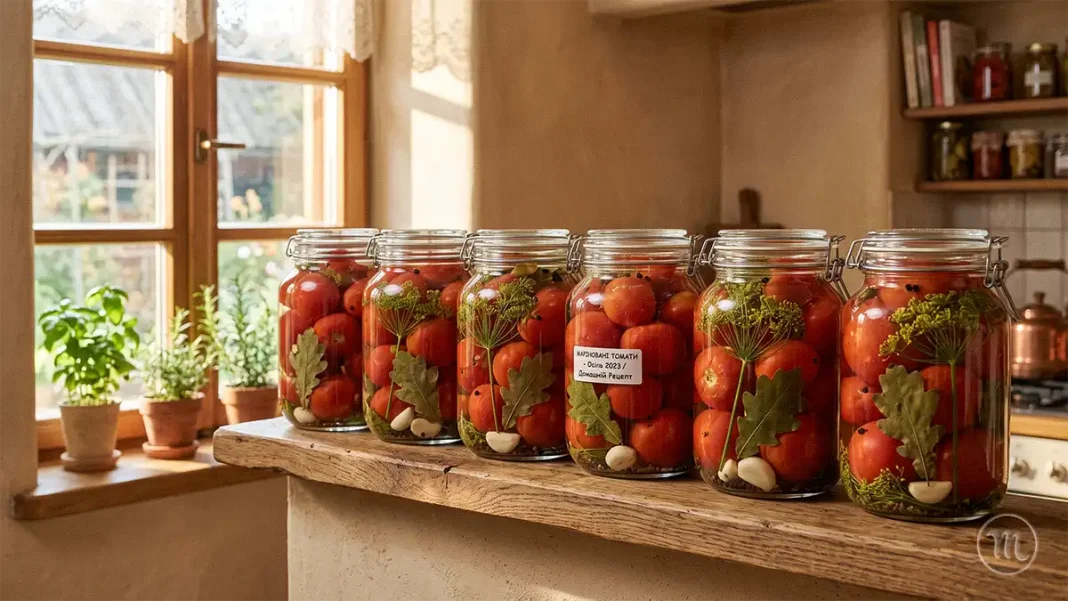
- • Why jars burst and brine turns cloudy: how poorly washed vegetables and soil residue activate dangerous bacteria in an oxygen-free environment.
- • The secrets to flawless disinfection: why proper sterilization and blanching your fresh herbs are the absolute lifesavers for winter storage.
- • The golden ratio for acidity regulation: how skimping on vinegar turns a wholesome recipe into a direct health risk.
- • The toothpick and oak leaf trick: unique, time-tested hacks that permanently prevent tomato skins from splitting open.
Read in another language:
Summer is in full swing, which means my kitchen has officially transformed into a canning marathon headquarters! My darlings, I’ve been doing this myself for years and I know one thing for sure: making homemade preserves is a true art form. When prepared with the exact right technique, these jars can easily sit in your pantry for a few years under proper storage conditions, ready to delight your family with rich, savory flavor. But if you accidentally trip up on the process, your hard work won’t last long, and the taste won’t be anywhere near what you dreamed of, reports MODISTA.
There are no small details here—even the tiniest slip-up can ruin your entire day’s work. Over my years of culinary adventures, I’ve noticed 5 specific mistakes that home cooks make most often. It’s exactly why lids pop, brine turns cloudy, and the fruit gets unpleasantly mushy. Let’s break down how to handle this together so your tomatoes come out picture-perfect every single time! 👩🍳
Five Common Mistakes to Avoid When Pickling Tomatoes:
1. Poorly Washed Vegetables: The Hidden Threat Lurking in the Soil
When preparing ingredients, you need to be incredibly thorough. It’s not just about giving things a quick rinse; you have to deeply clean every single piece. Dirt, especially when it comes straight from the garden, harbors millions of bacteria. This includes highly resilient spores that thrive in the oxygen-free zone of a sealed jar if the food’s acidity levels aren’t low enough.
Instead of the old-school bowl soak that many people still use, I highly recommend ditching that method altogether. Washing everything in a single, shared basin usually just redistributes the dirty water right back onto your fresh pickling tomatoes. It’s much better to wash them under running cold water, gently scrubbing each fruit with your hands or a soft brush. Pay extra attention to the stem area, as that’s where soil residue loves to collect. This approach guarantees you’re actually washing away all the grime for good.
Підписуйтесь, щоб не пропустити нічого цікавого! | Follow us so you don't miss anything interesting! | Subskrybuj, aby nie przegapić niczego ciekawego!
Before you fill your jars, make sure to pluck off the stems and trim away even the tiniest blemishes. These spots are absolute magnets for bacteria to gather and multiply, so grab a sharp knife for a clean, precise cut. Only choose fresh, firm tomatoes with absolutely zero signs of rot, mold, or bruising. Even a tiny bad spot on one fruit can introduce stubborn bacteria that are incredibly tough to knock out during the boiling stage.
2. Skipping Proper Sterilization of Jars and Lids
Thorough jar sterilization is non-negotiable if you want to completely knock out micro-organisms. If you skip this, bacteria will quickly trigger fermentation, leading to spoilage, or worse—the development of dangerous toxins like botulism in canning. The exact heating time depends entirely on the method you choose to use.
Here are a few trusted, highly effective ways to get things pristine right in your own kitchen:
- The Steam Method: Place your clean jars upside down over a pot of boiling water using a dedicated steam rack or even the top of a tea kettle. This works like a charm because the blazing hot steam easily finds its way into every little nook and cranny. Smaller pint jars need about 10-15 minutes, while large half-gallon or gallon sizes will need 20-30 minutes.
- The Oven Method: Arrange clean, completely dry jars inside a cold oven, crank the heat up to 210°F–230°F (100°C–110°C), and leave them in for exactly 15-20 minutes once it hits that temperature. My top tip: never set hot glass onto a cold or wet countertop, or the sudden thermal shock will crack it instantly.
- The Microwave Method: Pour about an inch of clean water into the bottom of each jar, place them in the microwave, and run it on high power. The water needs to come to a rolling boil to create heavy steam. Give small jars 3-5 minutes, and larger ones around 5-7 minutes.
- The Boiling Water Bath: Submerge your jars completely in a large pot of water, making sure they are fully covered. For smaller sizes, set a timer for 10 minutes; for extra-large containers, give it at least 30 minutes.
When it comes to processing your lids, those with rubber seals should be simmered in a separate small saucepan for the last 5-10 minutes right before you seal the jars. Just don’t boil them for too long, or you risk damaging that delicate rubber seal that keeps air out. For total food safety, always use brand-new lids. Before starting, check your glassware for any micro-cracks, chips, or rough edges around the rim. The slightest imperfection means your seal will fail, causing inevitable spoilage.
3. Not Enough Vinegar: Messing Up the Acid Balance
Vinegar isn’t just there for a punchy flavor kick or standard preservation; it acts as your primary acidity regulator (pH tracker). To ensure safe long-term storage for pickling tomatoes—which are naturally low-acid fruits—adding the precise amount of acid (like vinegar or citric acid) is an absolute must. This is what stops dangerous botulism spores right in their tracks.
The entire goal of using vinegar is to safely drop the pH level below 4.6. This acidic environment completely blocks botulism in canning from developing. So, skimping on your measurements is a direct gamble with your family’s health. Don’t eyeball or cut down on the vinegar amount listed in a trusted recipe recipe for marinade!
The cleanest way is to add the vinegar straight into each jar right before pouring the boiling brine. Alternatively, stir it into your pot immediately after removing it from the stove so it doesn’t evaporate too quickly. If you do add it while the liquid is still bubbling on the stove, do it just 1-2 minutes before turning off the heat. For those who aren’t fans of a strong vinegar bite, you can swap it for citric acid—generally, 1 teaspoon of crystalline citric acid per liter of water does the trick. However, the golden safety standard for proper acidity is using 60 ml of 9% white vinegar per liter of liquid.
4. The Water Didn’t Boil: Blanching Blunders
Most classic recipes require you to pour plain boiling water over the whole tomatoes first, letting them warm up for 8-10 minutes. Only then do you drain that initial water, fill the jar with your hot recipe for marinade, and screw the lid on tight. A massive mistake many beginners make is simply getting that first pour hot rather than bringing it to a full, rolling boil. Here’s why that matters.
This intermediate step, known in the culinary world as blanching or pre-heating, serves a couple of crucial purposes. Pouring roaring hot water over the tomatoes is vital for:
- Warming the glass and the fruit evenly: This prevents thick glass jars from snapping when you pour the final boiling brine in later. Plus, heating the fruit through helps the marinade penetrate deeply and ensures much better heat distribution during the final processing stage.
- Pushing out trapped air: The intense heat forces oxygen out of the vegetable tissues, which means fewer empty air pockets inside your jars later on.
That 8-10 minute window ensures the heat makes it all the way to the core of each tomato. If the water wasn’t truly boiling, the center stays cold, which completely ruins their texture and shortens their shelf life. One more golden rule from my kitchen: never reuse that first drained water to mix up your brine! It’s loaded with extracted raw juices and tiny residues washed off the skins. Pour it down the sink and start with a fresh, clean water base for your marinade.
5. Skipping the Herb Scald: A Haven for Hidden Bacteria
Fresh herbs like dill, parsley, currant, or cherry leaves give our jars that irresistible, old-fashioned aroma, but they are often the biggest culprit for introducing stubborn bacteria and soil spores. They easily survive a quick rinse under the tap, especially herbs that grow close to the ground.
You don’t need to boil your delicate greens into mush, of course—that would ruin their fresh flavor. Instead, place them in a colander and submerge them in boiling water for just 10-15 seconds, or give them a thorough dousing from the kettle. This quick flash-scald obliterates surface bacteria without ruining their crisp texture. Follow it up with an ice-water plunge to stop any cooking and keep that vibrant green color popping.
Be extra strict with large horseradish leaves. Their rough, textured surface is nearly impossible to get clean by hand-washing alone. This simple boiling water step slashes the risk of contaminating a perfectly sterile jar. Once scalded, handle them with clean kitchen tongs or a sterile spoon rather than your bare hands so you don’t introduce new germs right before packing the jars.
How to Keep Your Tomatoes From Splitting Apart
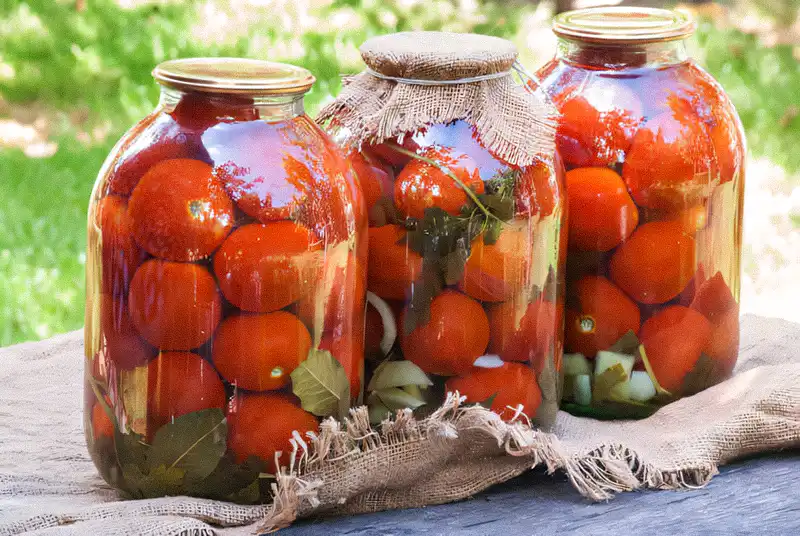
Every home cook wants their jars to look stunning—plump, whole, and perfectly intact. But all too often, blazing hot water splits that delicate skin, turning your beautiful produce into a mushy mess. I’ve gathered the absolute best, tried-and-true hacks to keep your fruit looking flawless. 😉
Secret Botanical Additions
Make sure to tuck a couple of oak leaves and fresh horseradish into every single jar. These specific plants are packed with natural tannins. They work behind the scenes to keep the cell walls of your vegetables firm, crunchy, and highly resistant to breaking down under intense heat.
The Steam-Tempering Hack
This clever routine shields your produce from sudden thermal shock. Before you start tightly packing the glass, pour just a splash of boiling brine into the very bottom of the jar, then pop the lid on for a couple of minutes. The trapped steam will gently and evenly warm up the glass. Pour the liquid back into your pot, bring it back to a boil, and then fearlessly fill your packed jars all the way to the top.
The Toothpick Trick
This is the simplest, most effective trick in the book, and it saves my batches every year. Right before you drop a tomato into the jar, grab a standard wooden toothpick and poke one deep hole right through the center where the stem used to be. This tiny puncture relieves the internal pressure that builds up inside the skin as it heats up, ensuring it won’t pop open from the heat.
Feel free to layer these methods together: poke the fruit with a toothpick while your jar gets its steam-tempering warm-up. The payoff? Incredibly appetizing, gorgeous, and perfectly whole results that you’ll be so proud to pull from the pantry this winter!
My Opinion:
The very first time I packed a batch without scalding my fresh herbs first, I watched in absolute horror two weeks later as the liquid turned cloudy and the lids started bowing out. It taught me the hard way that when dealing with food safety and preservation, shortcuts aren’t worth it. Taking those extra 10 seconds to rinse your leaves with boiling water and poking the stems with a toothpick saves you from tossing hours of hard work straight into the trash.
Advice from MODISTA
- Always shop for meaty, plum-type varieties (like Roma tomatoes) for your jars—their thick walls hold up beautifully during hot processing.
- Never use iodized table salt for pickling or canning, as it can darken your food and turn your vegetables mushy; always stick to pure kosher or coarse canning salt.
- Keep your finished jars in a cool, dark, and dry spot away from direct sunlight to maximize their shelf life and maintain top-tier flavor.
Did you know about the secret oak leaf trick for keeping your vegetables firm? Bookmark this page or text the link to your favorite cooking buddy so everyone’s pantry is stocked with perfection this season!
ℹ️ REFERENCE
Food preservation is a widely practiced method used to extend the shelf life of food through targeted heat treatment and airtight sealing in glass or tin containers. The main objective of this method is the complete destruction of micro-organisms that trigger decomposition and fermentation. To explore the rich history, scientific principles, and varied home methods for processing seasonal vegetables, visit the official Wikipedia guide 🌐.