



- • Why installing a water meter is your first step to major savings: tracking your actual usage stops you from paying bloated flat-rate utility fees.
- • How to collect hundreds of gallons of free water: a simple setup to harvest natural rainfall easily covers up to half of your backyard irrigation needs.
- • The superpower of a homemade drip irrigation system: delivering moisture straight to the roots slashes evaporation and keeps fungal plant diseases at bay.
- • What water temperature is perfect for your plants: a scientifically backed range of 15–20 °C boosts photosynthesis and keeps tubers from overheating.
Read in another language:
The summer season brings plenty of joy as we look forward to a lush harvest, but it also triggers heavy financial strain—with water bills often topping the list of expenses. This hits home especially hard if your property relies on city utilities while the scorching sun parches the soil. However, seasoned gardeners know you can cut down on moisture costs significantly without sacrificing the health of your crops, reports MODISTA.
To keep your wallet happy while your tomatoes, cucumbers, and fresh herbs thrive, it’s time to rethink your daily backyard routine. Smart water conservation comes down to a few surprisingly simple yet effective habits that anyone can set up in an afternoon. Let’s dive into exactly how to optimize your system and look at the unexpected role temperature plays in your ultimate garden success.
Secrets of Smart Garden Water Management
Setting up a dedicated meter is the foundational step if your plot hooks up to a centralized supply line. Without it, you’re stuck paying standard estimated rates that usually end up way higher than what you actually use. Having a certified device forces us to think about every single bucket, serving as the ultimate motivator to try out more eco-friendly watering practices. Just make sure the installation is handled by a licensed professional from your local utility company to get everything legally registered. Skip the DIY approach on this part; it’s better to keep it fully official.
Sounds familiar? Many homeowners assume that having a private well solves all financial woes since monthly utility statements disappear. But here’s the thing: hidden costs always sneak in. You still have to pay for the electricity running the pump, handle routine hardware maintenance, and invest in testing underground water quality. To lower these bills, invest in modern energy-efficient pumps tailored to your land’s specific depth. Legally speaking, using shallow groundwater sources for personal use doesn’t require complex government permits, but deeper artesian setups always demand formal certification.
Підписуйтесь, щоб не пропустити нічого цікавого! | Follow us so you don't miss anything interesting! | Subskrybuj, aby nie przegapić niczego ciekawego!
Free Natural Resources and DIY Irrigation Hacks
Placing a spacious barrel right under your home’s downspout is a genius, completely free way to harvest fresh moisture. Soft, chemical-free, and lacking harsh city additives, pure rainwater acts like a custom health elixir for your crops. Want to build a major backup supply? You can link multiple containers together using simple piping so they fill up evenly. Don’t forget to cover the top with a fine mesh screen or a tight lid to block fallen debris and keep mosquitoes from breeding. For seamless flow, add a small spigot near the base or lift the barrel onto concrete blocks to create natural gravity pressure.
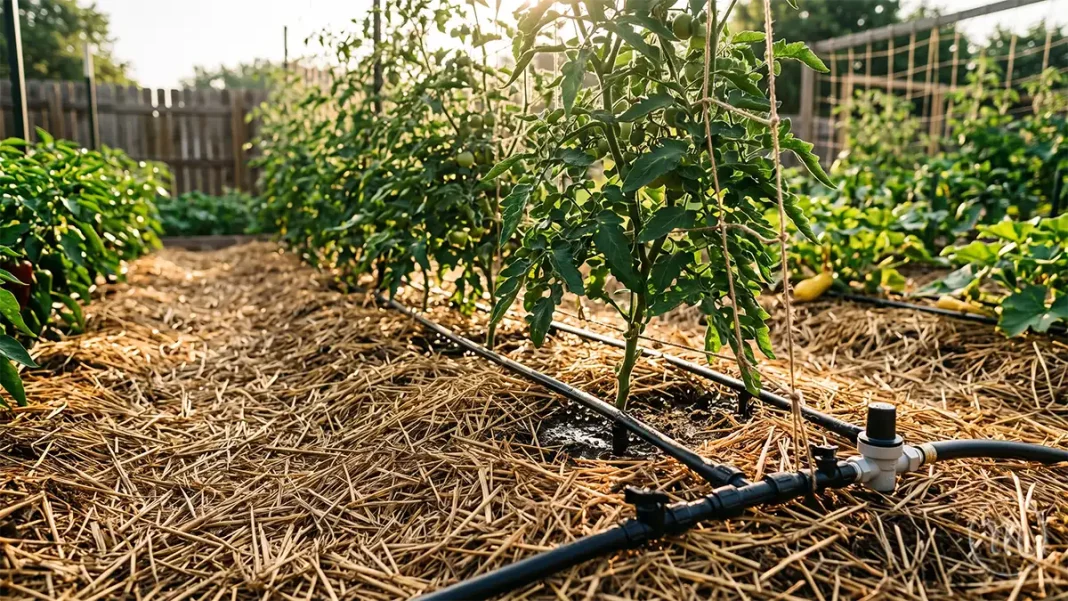
Boom! The ultimate breakthrough for your budget is a homemade drip irrigation system. To build one, grab an old garden hose and puncture small holes every 12 inches using a heated awl or nail—the warmth keeps the edges smooth so the material doesn’t split over time. Run the hose directly along your planting beds so moisture goes straight to the roots. It doesn’t just trim down your utility expenses; it also saves you hours of manual labor and stops fungal infections since the leaves stay totally dry. For ultimate hands-free ease, grab a budget-friendly timer to fully automate the process when you’re away for the weekend.
We also can’t talk about clever hacks without highlighting soil mulching. Covering your beds with a 2-to-4-inch layer of clean straw, fresh grass clippings, or landscaping fabric locks vital moisture into the earth, chokes out annoying weeds, and shields roots from intense afternoon heat waves. My top tip is to spread your mulch over fully warmed, freshly watered soil, leaving a tiny gap around the main stems to avoid any rotting or dampness issues. Over time, organic matter breaks down naturally, giving your soil an extra nutrient boost for free.
The Golden Rules of Timing and Ideal Temperatures
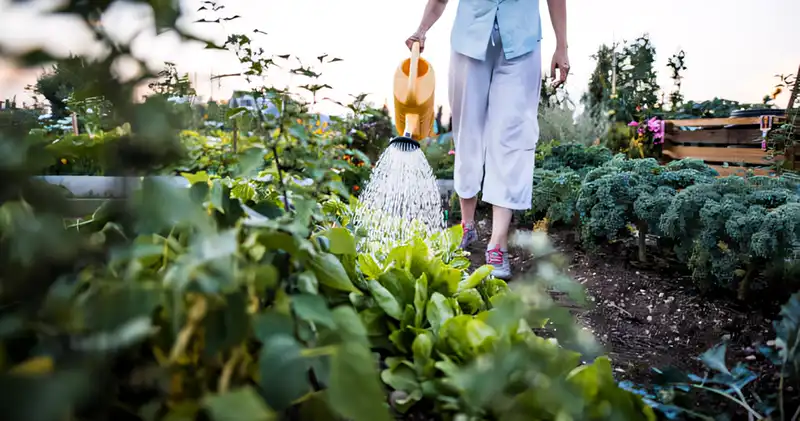
When you choose to step outside with your hose matters immensely. Aim for early morning or late evening slots when the sun isn’t burning and evaporation drops to zero. Early morning is actually the premier choice; it lets plants drink up before the peak heat hits, and any stray droplets on the foliage dry off rapidly, preventing conditions like late blight that frequently ruin tomato crops. Try to practice deep, thorough watering fewer times a week rather than light daily sprinkles. This encourages root networks to push deeper into the ground where the earth stays damp much longer.
Now for the main takeaway: should you treat your garden beds to cold or hot water? Tons of well-meaning homeowners make the mistake of letting their barrels bake in the sun until the contents hit 30–40 °C. Experts warn that this warm liquid stresses delicate roots and overheats the surrounding dirt. On the flip side, icy well water straight from underground (around +6 °C) shocks plants instantly. The golden zone is refreshing, cool water ranging precisely between 15 °C and 20 °C.
Think about it: for maximum photosynthesis, crops need dissolved carbon dioxide, which stays most abundant in liquids right around that 15 °C mark. Plus, staple favorites like potatoes grow much larger, healthier tubers when the soil environment stays under 20 °C. By keeping this perfect temperature balance and using smart collection methods, you’ll secure a beautiful backyard bounty while shrinking your monthly expenses down to size.
My opinion:
When I first tried setting up a makeshift drip irrigation system using an old hose on my property, I was pretty skeptical about whether the water pressure would even hold up. But in my experience, combining that simple hack with a thick layer of straw mulch cut my water bill practically in half. Even better? My tomatoes completely stopped getting blight because the dirt stayed consistently damp underneath while the leaves stayed perfectly dry. Trust me on this, it’s a total game-changer.
Advice from MODISTA
- Always test soil moisture levels before grabbing your tools by pressing a finger a couple of inches into the earth to prevent muddy pooling around delicate roots.
- Keep a basic outdoor thermometer handy to check your barrels, aiming for that sweet 15–20 °C spot instead of using icy groundwater or sun-baked liquid.
- Top off your organic mulch layers after weeding sessions, since loose grass and straw compress quickly and lose their protective qualities under intense sunlight.
Have you noticed a drop in your daily outdoor chores after adding a layer of mulch to your yard? Save these practical lifestyle tips to your favorites or share this link on your social channels to help your friends save on their summer bills too!
MODISTA Daily MODISTA Daily MODISTA Daily
ℹ️ REFERENCE
Mulching is a highly effective agricultural practice that involves covering the surface of the soil with organic or synthetic materials to prevent evaporation, block weed growth, and control temperatures. For more detailed scientific data regarding how different ground covers impact soil composition and agricultural yields, check out the dedicated articles on the popular open-source online encyclopedia. 🌐