Read in another language:
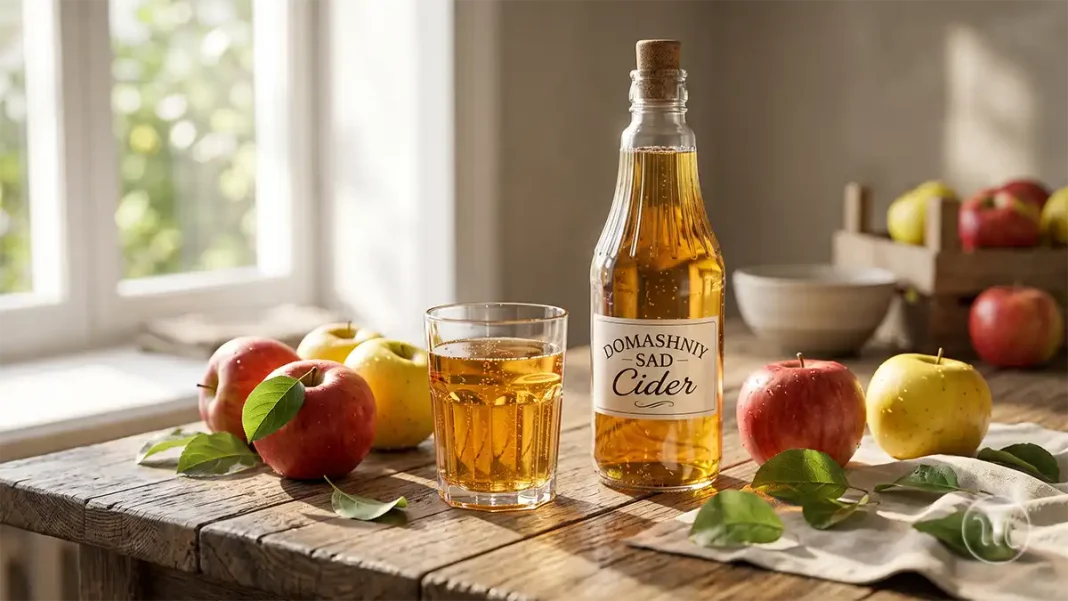
When late summer rolls around and your garden is practically overflowing with fresh apples, panic sets in. Your dehydrator shelves are full, you’ve already made three years’ worth of jam, and you’re left wondering what on earth to do with the rest of your harvest. I’ve previously shared how to make authentic grape wine for those long winter evenings, but today I want to turn those extra apples into something much lighter and infinitely more refreshing. We’re talking real, fermented hard cider that easily puts any store-bought bottle to shame.
Celebrity chef Yevhen Klopotenko recently shared his easy take on this classic sip. You won’t need any high-tech gear or fancy cellar setups—everything comes together right in your home kitchen using basic tools. Trust me, all it takes is a little patience and the right room temperature to master how to make cider from scratch.
Ingredients and Proportions for Homemade Cider
To yield roughly 1.5 liters of crisp, light cider, you’ll need just a handful of staples. Don’t swap fresh compressed yeast for dry yeast in equal amounts here, or your apple juice fermentation process will completely lose its balance.

Step-by-Step Apple Cider Recipe Guide
The method breaks down into a few simple stages. The secret here is not to rush things—let the natural active yeast do its magic at its own steady pace.
Підписуйтесь, щоб не пропустити нічого цікавого! | Follow us so you don't miss anything interesting! | Subskrybuj, aby nie przegapić niczego ciekawego!
Step 1
Wash your fruit thoroughly and slice into rough chunks that fit easily into your juicer feed chute. Press out all the fresh juice. If your liquid turns out overly thick or pulpy, mix in a splash of clean filtered water until you hit that sweet spot of 1.5 liters total volume.
Step 2
Pour your raw liquid straight into a clean 3-liter glass jar. Don’t throw away all that leftover pressed pomace! Stir roughly two tablespoons of apple pulp right back into the jar—it gives your homemade cider recipe an incredible body and robust flavor depth.
Step 3
Crumble 3 grams of fresh cake yeast directly into the batch with your fingers and toss in two tablespoons of sugar. The sugar isn’t meant to make the drink sweet; it acts as vital fuel to kickstart fermentation with yeast so your base doesn’t just spoil.
Step 4
Cover the jar opening with a few layers of cheesecloth and let it sit in a dark room corner at room temperature for 24 hours. You’ll notice light bubbling start to form as the batch comes alive.
Step 5
The next day, swap the cheesecloth for a clean rubber glove stretched over the jar neck. Secure it tightly with string so pressure doesn’t blow it off. Prick a tiny hole in one finger with a pin—this works as a quick airlock for escaping carbon dioxide. Wondering how long does cider ferment? Leave it for two to three days; the glove will inflate fully during peak activity, then deflate as things calm down.
Step 6
Once the glove completely deflates, move your jar to a cool, dark spot for about a week and a half to age peacefully.
Step 7
About a month from when you started, carefully strain your fermented cider through a fine sieve or cheesecloth, leaving all sediment and pulp behind. Funnel the golden liquid into clean glass bottles, chill them in the fridge, grab your favorite glasses, and call everyone over before you change your mind!
A Brief History of Apple Cider
This timeless beverage boasts ancient roots. Early Romans quickly realized that wild apple drinks lasted far longer than standing water without going bad, offering a crisp, relaxing finish. Throughout medieval France and England, fermented fruit brews were the go-to table staple for peasants and monks alike, as lush orchards grew everywhere while delicate wine grapes remained a rare luxury.
Fast forward to today, and crafting apple drinks has evolved into a art form. Modern cider lovers adore it for its light body, low alcohol content, and vibrant fruit profile.
If you’re obsessed with fermented apple creations, you definitely need to check out our guide on effervescent pickled apples for the ultimate seasonal table treat.
My Opinion:
When I first tested this recipe, I was honestly pretty skeptical about using a simple rubber glove instead of a professional airlock—I was convinced the batch would turn into vinegar! But in my experience, as long as you tie the string tight and make just a tiny pinhole, fermentation works like a dream. My top tip? Avoid overly sweet store-bought apples; tart orchard fruit yields a far richer flavor profile.
Advice from MODISTA
- Opt for sweet-tart or slightly astringent autumn apples—they deliver that complex, full-bodied aromatic profile.
- Don’t scrub homegrown organic fruit with hot water, since natural wild yeasts living on the skin boost your batch.
- Serve your drink thoroughly chilled between 46–50°F (8–10°C) to highlight its crisp acidity and light effervescence.
Have you ever tried making hard cider at home, or do you stick to standard jams? Drop your favorite orchard secrets in our Telegram channel!
ℹ️ REFERENCE
Yevhen Klopotenko is a renowned Ukrainian chef, culinary expert, and co-owner of the acclaimed restaurant “100 Years Back in the Future.” He actively promotes authentic Ukrainian cuisine and creates simple, accessible recipes for home cooks. Learn more about his culinary projects on his official website 🌐 klopotenko.com.
Homemade Apple Cider:
Наші стандарти: | Our standards: | Nasze standardy: Редакційна політика сайту MODISTA | Editorial policy of the MODISTA website | Polityka redakcyjna serwisu MODISTA
За матеріалами Modistaua.com | Based on materials from Modistaua.com | Na podstawie materiałów Modistaua.com
Підписуйтесь на новини | Subscribe to news | Subskrybuj wiadomości MODISTA в Telegram